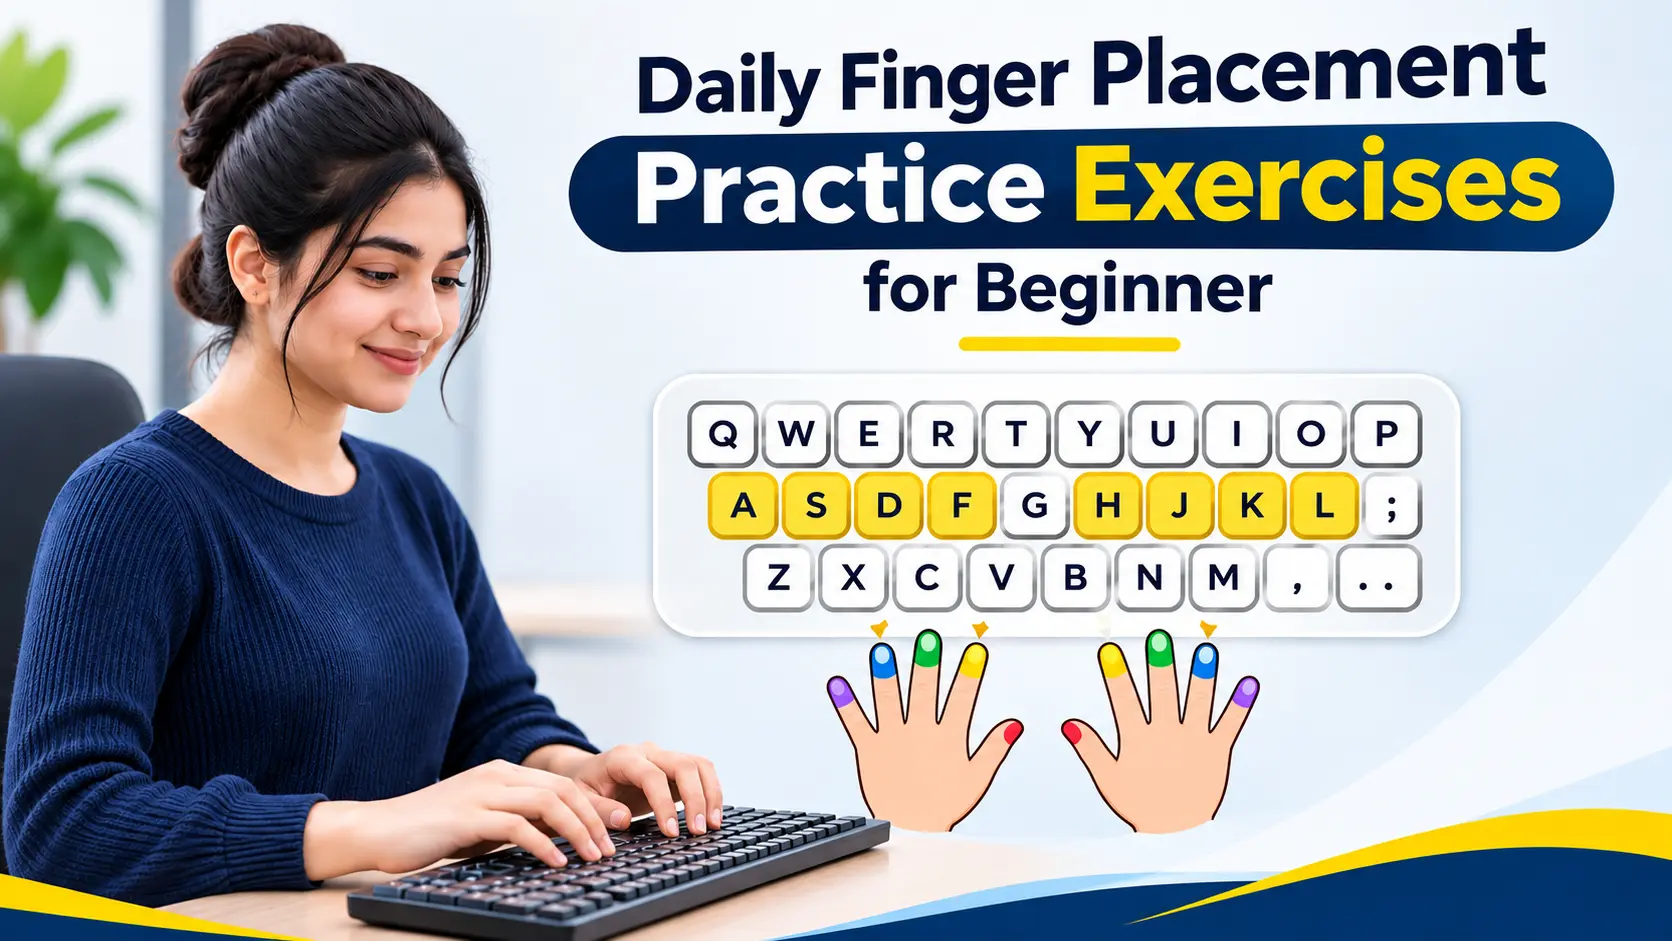
Learning to type without looking at the keyboard is an important computer skill. Many beginners know where the letters are located but still struggle to use the correct fingers while typing.
The reason is simple. Your fingers need regular practice before they become familiar with the keyboard layout.
Correct finger placement helps you type more comfortably and reduces unnecessary finger movement. It also makes it easier to develop touch typing skills.
If you are a beginner then these daily finger placement practice exercises can help you learn the keyboard step by step.
Why Is Correct Finger Placement Important?
Every finger has a specific area of the keyboard to cover. When you use the correct fingers your hands move in a more organised way.
Using random fingers may feel easier at first but it can make typing longer sentences difficult.
Correct finger placement helps you:
-
Develop better typing habits
-
Reduce unnecessary finger movement
-
Improve typing accuracy
-
Build finger memory
-
Type without looking at the keyboard
-
Prepare for online typing tests
You do not need to learn everything in one day. Start with simple exercises and increase the difficulty as your fingers become more comfortable.
Understanding the Home Row Keys
The home row is the starting position for touch typing. It is the middle row of letters on a standard QWERTY keyboard.
Place your fingers in the following positions:
| Left Hand | Right Hand |
|---|---|
| Little finger: A | Little finger: ; |
| Ring finger: S | Ring finger: L |
| Middle finger: D | Middle finger: K |
| Index finger: F | Index finger: J |
Keep both thumbs near the spacebar.
You will also notice small raised marks on the F and J keys. These marks help you find the correct finger position without looking down.
Daily Finger Placement Practice Exercises
The following exercises are designed for beginners. Practise each section slowly and focus on using the correct fingers.
1. Home Row Finger Exercise
Practice Time: 3 Minutes
Start with the home row keys. Place your fingers in the correct position and type the following combinations.
asdf jkl;
asdf asdf
jkl; jkl;
fdsa ;lkj
asdf jkl;
Repeat each line several times.
Try to return your fingers to the home row after pressing other keys. This helps you develop a consistent starting position.
2. Top Row Finger Exercise
Practice Time: 3 Minutes
Once you become comfortable with the home row start practising the top row.
Use the correct fingers to reach the keys and return to the home row.
qwer uiop
wert iopu
qwer tyui
type your words
quiet power
Do not rush through these exercises. Focus on correct finger movement.
3. Bottom Row Finger Exercise
Practice Time: 3 Minutes
The bottom row can feel difficult at first because your fingers need to move downward from the home row.
Practise these combinations:
zxcv nm,.
zxcv zxcv
mnbv cxz
zoom mix
van box
Keep your hands relaxed while practising. Avoid moving your entire hand when only one finger needs to reach a key.
4. Practise All Three Keyboard Rows
Practice Time: 3 Minutes
Now combine the top row and bottom row with the home row.
Type these sentences slowly:
The quick brown fox
Jump over the box
We learn to type
Practice every single day
Typing becomes easier with time
Pay attention to every letter. Try to use the correct finger instead of choosing whichever finger feels comfortable.
5. Practise Common English Words
Practice Time: 3 Minutes
After practising individual keys start typing common English words.
computer
keyboard
student
education
practice
learning
internet
technology
information
development
Try to type each word without looking at the keyboard.
When you make a mistake stop and check which finger needs more practice.
Correct Finger Placement for Every Keyboard Row
Understanding which finger should press each key will help you practise more effectively.
Left Hand Finger Placement
| Finger | Keys |
|---|---|
| Little finger | Q A Z |
| Ring finger | W S X |
| Middle finger | E D C |
| Index finger | R F V T G B |
Right Hand Finger Placement
| Finger | Keys |
|---|---|
| Index finger | Y H N U J M |
| Middle finger | I K and comma |
| Ring finger | O L and full stop |
| Little finger | P ; / and nearby keys |
Your thumbs are used for the spacebar.
These are the basic letter key positions for a standard QWERTY keyboard. Other keys such as Shift and Enter also require practice.
Common Finger Placement Mistakes Beginners Make
While learning keyboard finger placement you may make a few common mistakes.
Looking at the Keyboard
Looking down after every key makes it difficult to develop touch typing skills. Try to keep your eyes on the screen during practice.
Using the Wrong Fingers
Some beginners use their index fingers for almost every key. Learn the correct finger positions and practise using all ten fingers.
Moving Both Hands Too Much
Your fingers should reach their assigned keys without moving your entire hand unnecessarily. Keep your hands relaxed and return to the home row.
Trying to Type Too Fast
Speed should not be your first goal. Focus on correct finger movement and accuracy. Your speed can improve as you become more comfortable.
Skipping Daily Practice
Practising once in a while will make it harder to develop finger memory. A short daily session is a better way to build consistency.
A Simple 15 Minute Daily Finger Placement Routine
Follow this schedule to practise your keyboard finger positions every day.
| Practice Activity | Time |
|---|---|
| Home row exercises | 3 minutes |
| Top row exercises | 3 minutes |
| Bottom row exercises | 3 minutes |
| Word and sentence practice | 4 minutes |
| Online typing test | 2 minutes |
You can follow this routine at home or during your computer class.
After completing the exercises take a typing test to check your current performance.
How to Check Your Typing Improvement
Practice becomes more useful when you know whether your skills are improving.
After completing your daily exercises check two important things.
Typing Speed: Check how many words you can type in one minute. This is commonly measured in WPM.
Typing Accuracy: Check how many characters or words you typed correctly during the test.
Keep a record of your results every week. Compare your speed and accuracy to understand your progress.
You can take a free online typing test to check your performance.
Do not worry if your speed is low during the first few days. Learning correct finger placement takes time.
Final Thoughts
Learning correct finger placement is one of the first steps towards becoming a confident typist.
Start with the home row keys and gradually practise the top and bottom rows. Use the correct fingers and avoid looking at the keyboard too often.
Spend just 15 minutes every day on these exercises. With regular practice your fingers will become more familiar with the keyboard and typing will feel more natural.
Start practising today with our online typing test and take the first step towards improving your typing skills.